How to Guide
PRi Forearm Assembly with a Low Profile Gas Block
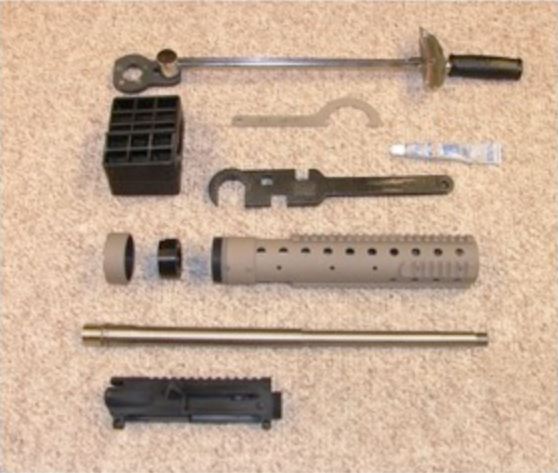
Items you will need to complete the job.
Installation Instructions
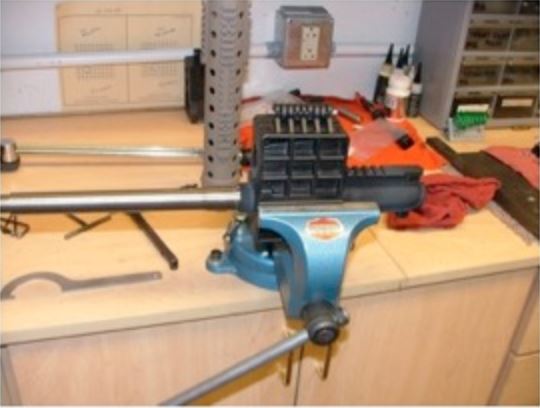
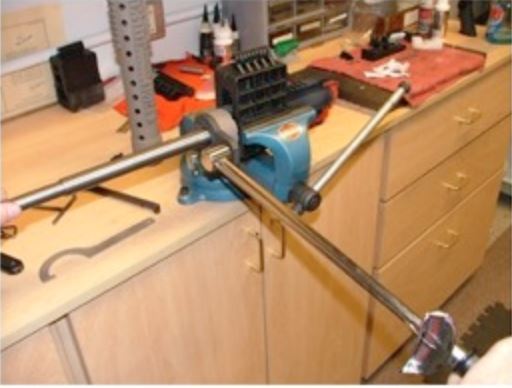
Step 1
Place the receiver in the receiver block then clamp into a vise. Install barrel by pushing the barrel all the way in with orientation pin in the receivers notch.
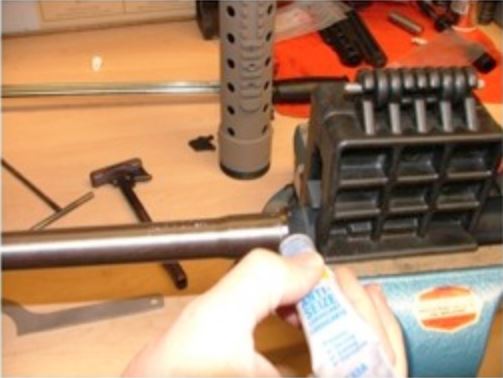
Step 2
Apply a small amount of anti-seize paste to the receiver's threads.
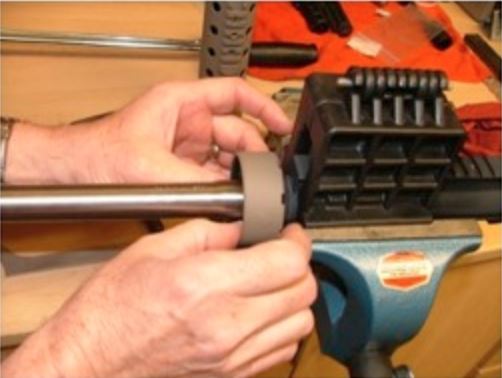
Step 3
Install the barrel nut and the forearm collar. Turn the barrel nut all the way down until finger tight. The forearm collar should be loose.
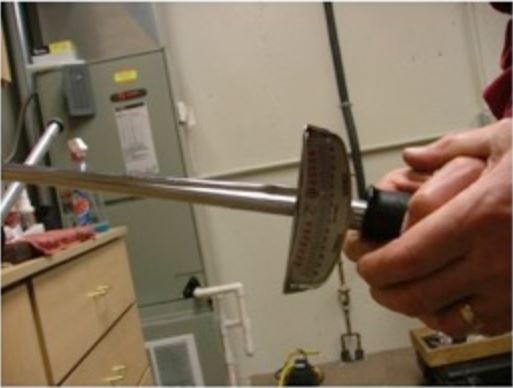
Step 4
Using a barrel torque wrench, tighten to 40-50 ft. lbs. and loosen the nut on the receiver 3 times. The 4th time you go for exctly 40 ft. lbs. on the torque wrench.
Step 5
Check the gas tube port alignment on the receiver with the port on the barrel nut. If alignment is not correct you will need to tighten to a maximum of 65 ft. lbs. or loosen the barrel nut and start over to get proper alignment.
Step 6
Install the gas block and tube and secure into place.

Step 7
Next, feed the forearm down the barrel with the rails in the orientation you want. Start turning the forearm into the forearm collar. The orientation pins inside the collar will align the forearm into place.
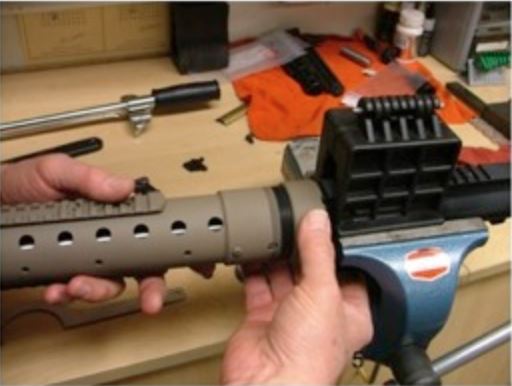
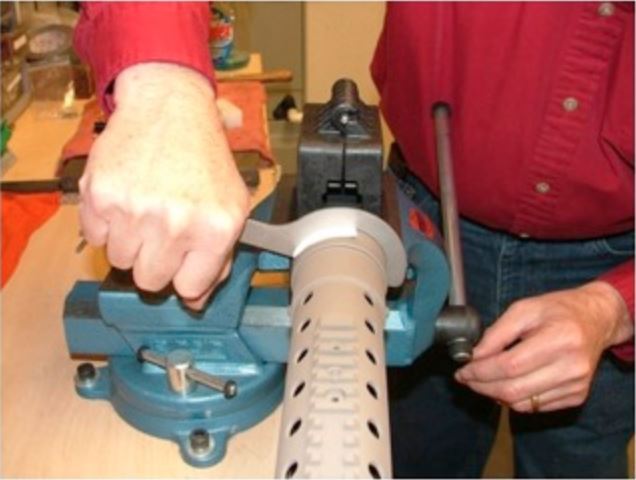
Step 8
Tighten the forearm into place with a forearm wrench. Use a piece of cloth or rag to protect the forearm from scratches. Confirm that the forearm rail and the receiver rail are in align with each other. There is a small amount of adjustment in the forearm collar to aide in the alignment.